User Tools
This is an old revision of the document!
Table of Contents
Recommended configuration of the DR-2X repeater
After the basic configuration of the DR-2X repeater (uplink and downlink frequencies, transmission power, Callsign and more …) it can now be connected to a ycs server. The following article describes a recommended configuration for the connection.
Network configuration of the DR-2X
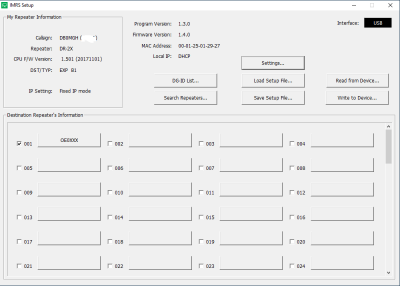
Use a micro-USB cable to connect the DR-2X repeater to a PC that has the IMRS setup software installed. Then start the IMRS setup software.
- Use “Read from Device…” to read out the data from the repeater
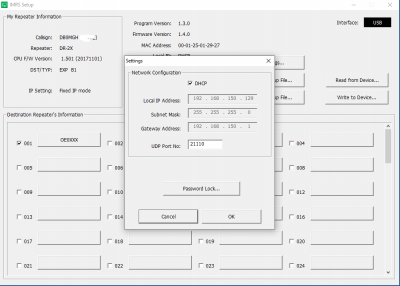
- Use “Settings…” to configure the network address of the repeater
- Use “Write to Device…” to write configuration to the repeater
- The IMRS communicates with the LAN-01A via specified port 21110 (default). DO NOT CHANGE the “21110” UDP port setting. Also you should set the router firewall to open the UDP port “21110”.When using a router to connect the PC to the Internet, the UDP port must go through the router as well; however, communications using this port is generally prohibited on commercially available routers in the default setting.Therefore, if you are using a router, make sure that the port is “open” for passing UDP traffic.
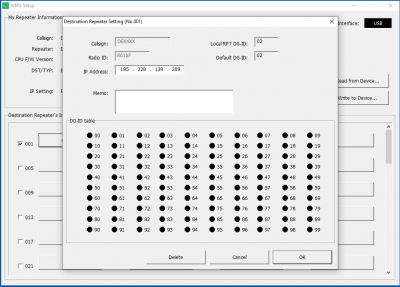
- On “Destination Repeater's Information” screen, click the button “001”. The “Destination Repeater Setting” screen appears.
- Enter the IP address of the desired YCS server
- Use “Write to Device…” to write configuration to the repeater
DG-ID configuration of the DR-2X
The next step is to configure the repeater's own DG-ID (01) and the desired DG-ID's to be connected to the YCS server.
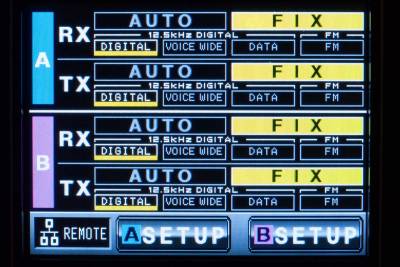
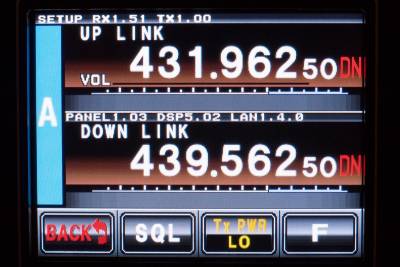
- Touch [A SETUP] to display set up screen.
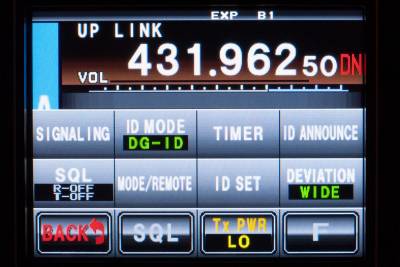
- Touch [F] on the bottom of the screen.
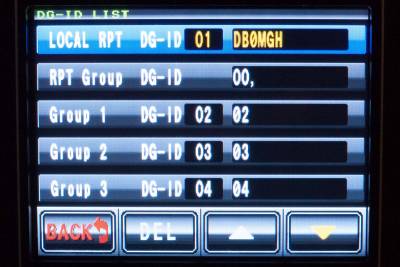
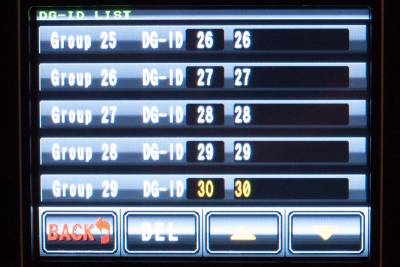
- Keep touching [ID MODE] (DG-ID). The DG-ID list screen will appear.
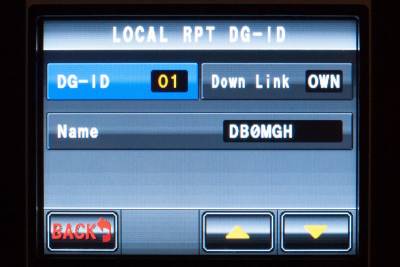
- Touch [LOCAL RPT] to open the LOCAL RPT DG-ID screen.
- Tap on the “DG-ID” field and set “01” with the help of the arrow keys. This is the repeater's own DG-ID (default “01” on ycs-server)
- Tap on the “Down Link” field and activate “OWN”.
- Tap twice on the “Name” field and configure repeaters callsign.
- Tap “BACK” to go back to DG-ID List screen
In the next step, the DG-IDs are configured which should be connected to the ycs server. It is possible to configure all DG-ID (02-99).
(Please note that only configured DG-IDs can be used. This also applies to the RF side.)
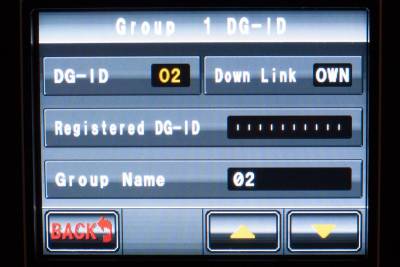
- Touch an unregistered [Group DG-ID] twice.
- Touch [DG-ID] and set the first desired DG-ID.
(Note that the DG-ID field must remain gray, not blue.)
- Tap on the [Down Link] field and activate “OWN”.
- Leave [Registered DG-ID] blank
- Tap on the [Group Name] field and insert Name of DG-ID.
- Touch [BACK] to return to DG-ID List screen.
- Repeat the same steps for each additional DG-ID to be configured.

